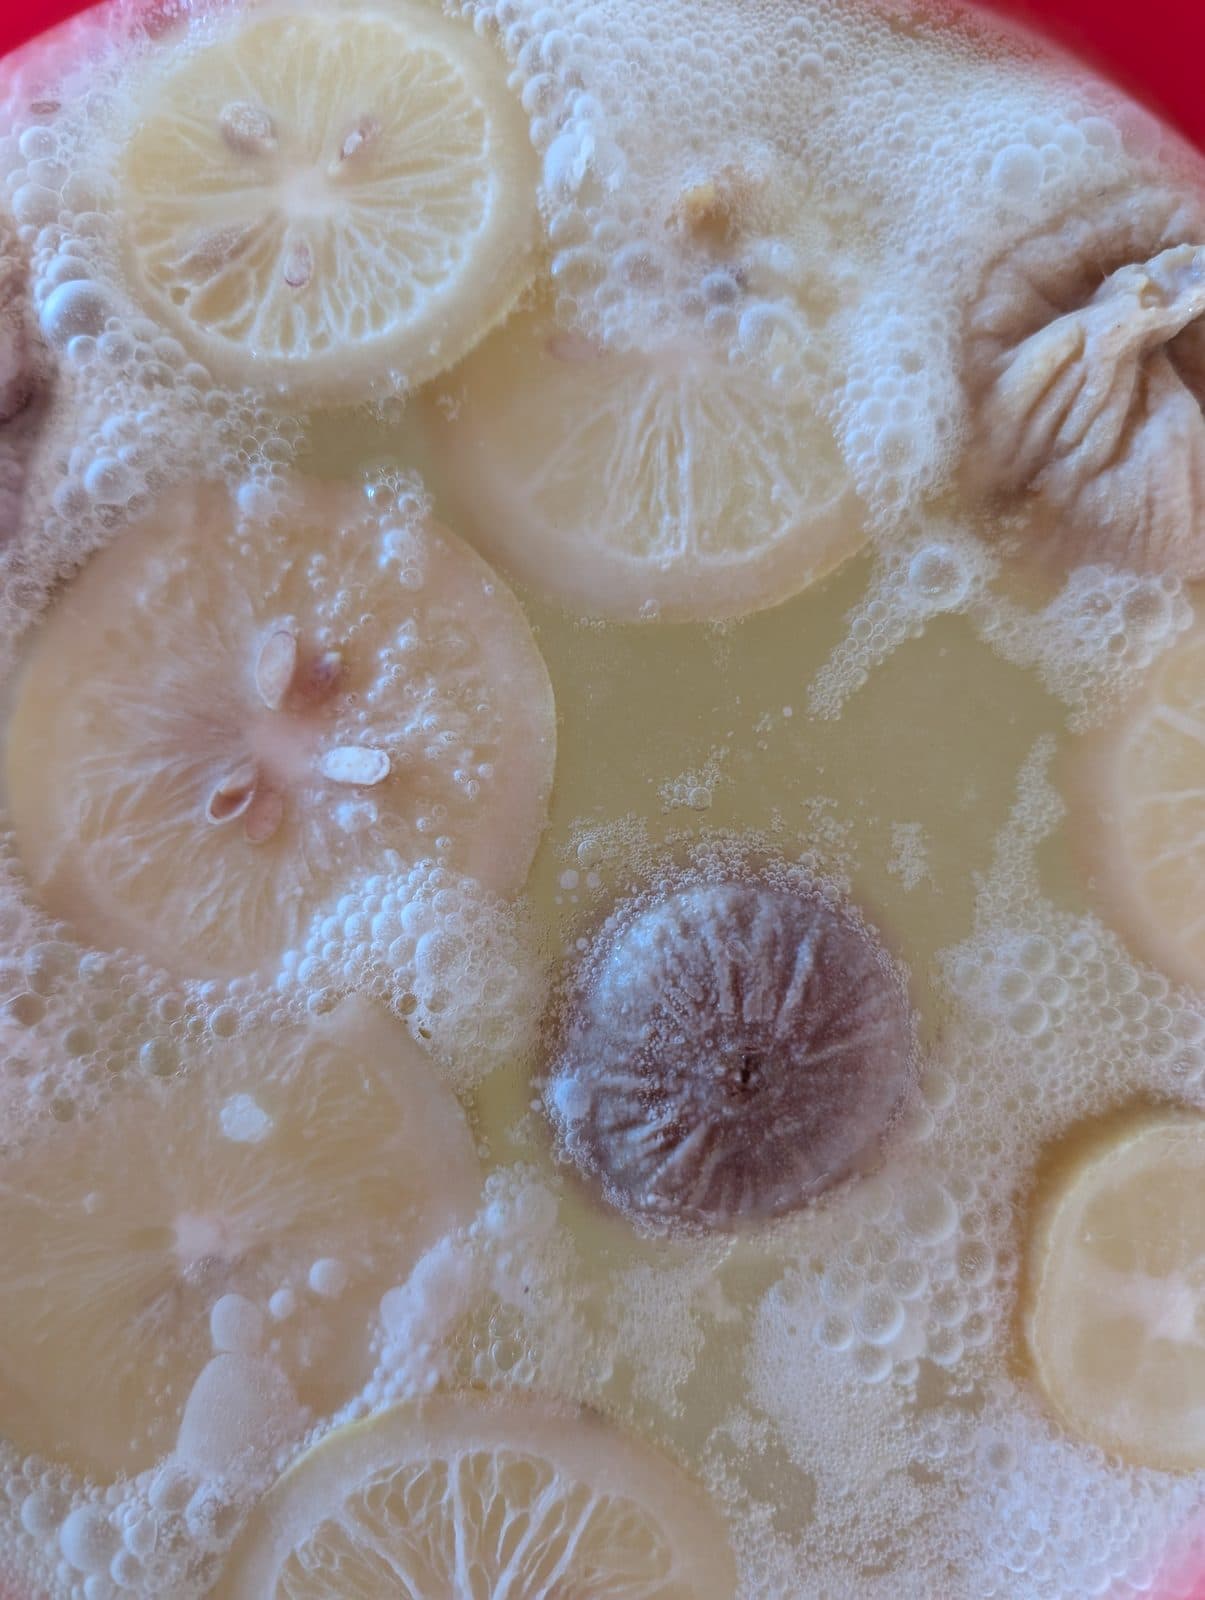
Homemade ginger beer: the complete recipe
Ginger beer isn't ginger lemonade: it's a fermented drink, naturally fizzy, bright, and gently spicy. The bubbles don't come from a carbonation machine but from wild yeasts grown in a small ginger starter — the ginger bug. Here's the full method, with real numbers.
Step 1: the ginger bug (the ginger starter)
The ginger bug is your starter culture, the ginger beer equivalent of sourdough starter. It takes 5 to 7 days to get going.
In a jar:
- 250 ml unchlorinated water (spring water, or tap water left out 24 h)
- 1 tbsp grated ginger (skin on, rinsed)
- 1 tbsp sugar
Cover with a cloth, keep at room temperature (20-25 °C). Every day, feed it: add 1 tbsp grated ginger + 1 tbsp sugar, and stir. After 3 to 5 days you'll see small bubbles and hear a faint fizz: it's alive and ready.
Step 2: the F1 (first ferment)
This is where you make the sweet, gingery base and let it ferment.
For 1 litre:
- 1 litre water
- 80 to 100 g sugar (brown or white)
- 30 to 50 g fresh grated ginger (to taste, depending on the heat you want)
- juice of half a lemon
- 100 to 150 ml strained ginger bug (the liquid, not the pulp)
Simmer the water, sugar, and ginger for 10-15 min, let it cool below 30 °C (essential: too hot and you kill the yeasts), add the lemon, then the ginger bug. Cover with a cloth and leave 2 to 4 days at 20-25 °C. Stir once a day. The F1 is ready when it's lightly tart and already a little fizzy on the surface.
Step 3: the F2 (bottling and carbonation)
It's the F2, in a sealed bottle, that gives you the real pressurized fizz.
Strain the F1 and bottle in swing-top bottles (lemonade style, thick glass). Leave 3-4 cm of headspace. Seal, then leave 1 to 3 days at room temperature. The gas builds up with nowhere to escape: that's your fizz.
Rule of thumb: at 22-24 °C, count on about 48 h. The warmer it is, the faster it goes — keep an eye on it.
Pressure safety: read this
An F2 is a bottle under pressure. Handled badly, it can explode (the infamous "bottle bomb"). Three rules:
- Add one plastic tester bottle to the batch. When it feels hard, the pressure is there: move the whole batch to the fridge.
- "Burp" once a day: briefly crack one bottle open to release excess pressure, especially in warm weather.
- Cold stops fermentation. Once in the fridge, pressure barely rises. Always open over the sink, slowly.
Never leave an F2 sitting "one more day" in the warmth and forget it: that's how a glass bottle shatters.
Fermenter's note. I aim for the low end of the sugar range in F1: the ginger beer comes out drier, less sweet, and the over-pressure risk drops to almost nothing. That leaves little sugar to carbonate, so I dose the F2 with priming sugar drops (the same ones home-brewers use for beer), one per bottle: steady, repeatable, safe carbonation. And if it's only lightly fizzy, all the better — easier on digestion.
The tricky part: forgetting a bottle in the warmth
As you've seen, ginger beer plays out over short windows: feed the bug daily, stop the F1 at the right moment, pull the F2 before it over-pressurizes. One forgotten day, and it's either flat or a geyser. With several batches running at once, keeping all of that in your head gets unmanageable fast.
Track every batch, from bug to bottle
That's exactly why we built FermPal: every ginger beer moves phase by phase (bug → F1 → F2 → fridge), with its durations and temperatures, and a home screen that shows you which F2 is nearing the moment to pull it. Every recipe keeps its version history — so you find again the ginger dose and the number of days that hit exactly the right fizz.
Track my ferments with FermPal (free) →
Go further: the complete water kefir guide (grains, F1, F2) and the fermentation tracker app.